 |
How to Remove and Re-condition Cadillac Allanté Front Door Switches
|
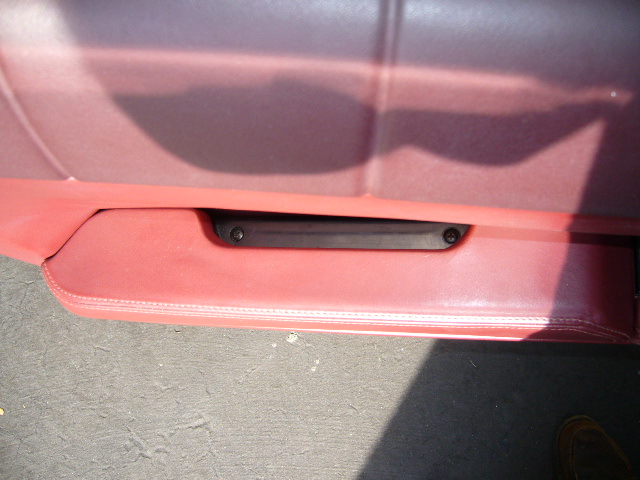 |
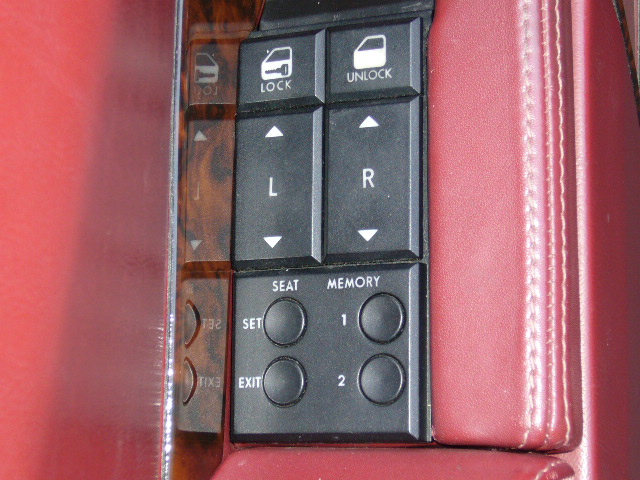
1) Remove the two exposed Phillips screws in the hand hold of the arm rest. These screws are longer than you think so keep turning until they fall loose. |
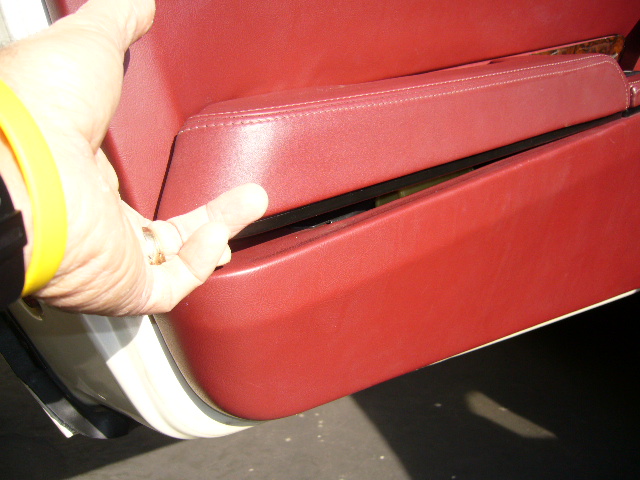 |
2) Lift back edge of arm rest first, then lift up to release and remove. There are two tabs that create resistance when pulling arm rest up. (See next picture) |
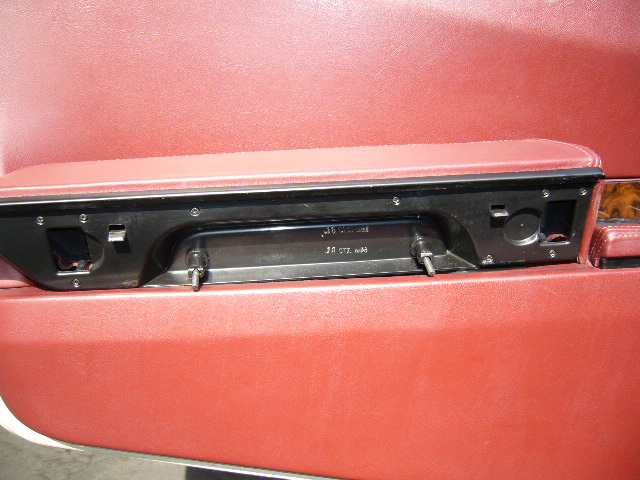 |
3) Note two tabs and long posts through which the Phillips screws are guided. These posts are plastic and may be cracked or might crack when you replace the arm rest so be careful. |
 |
4) Remove two Phillips screws holding arm rest plate to door panel and the two smaller upholstery screws attaching the bottom of the arm rest plate to the door panel. |
 |
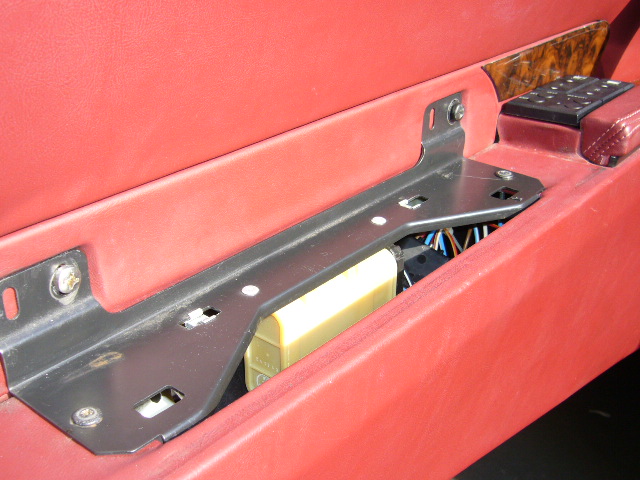
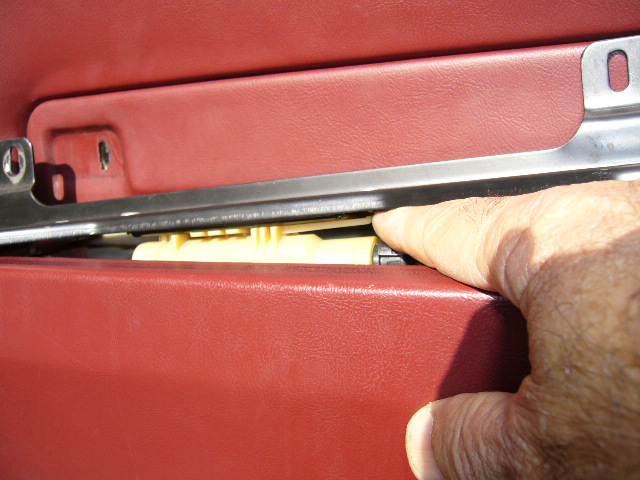
5) Pry up rear of switch panel panel and remove. Try not to let the flat wide metal spring fall into door panel. It is being held in place by pressure alone and will fall if you don't hold onto it while removing the switch. |
 |
6) Remove the two electrical connectors plugging into rear of switch (Passenger switch has one connector). |
 |
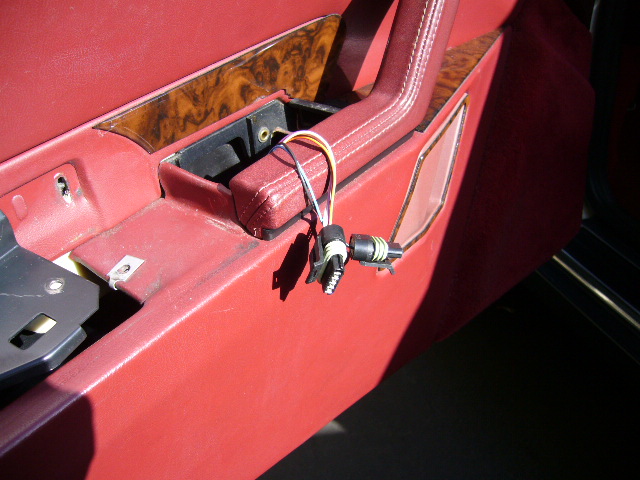
7) Cut and remove tie wrap to release tension on wires. |
 |
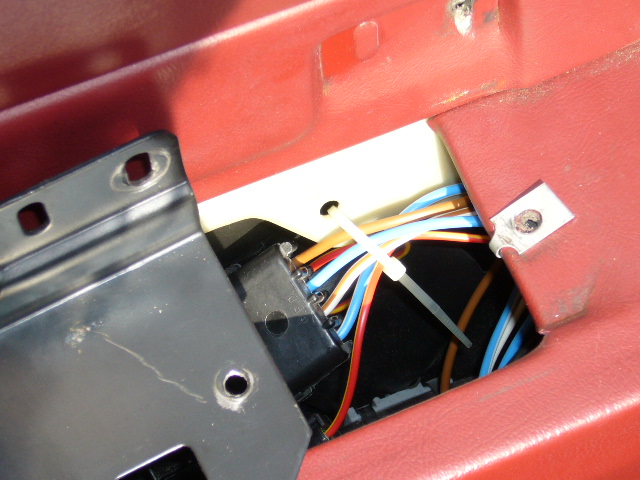
8) Attached to the arm rest plate is a very large creamy white connector. Pry the locking tab down and slide the rearward to release it from the black plate. |
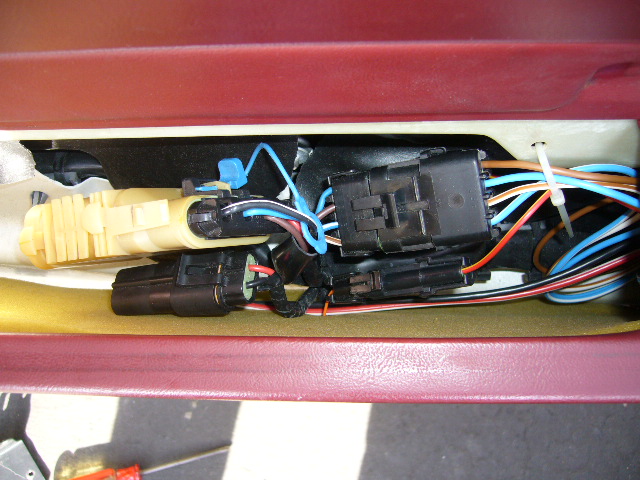 |
9) Push large white connector out of way. Unplug the three black electrical connectors. (Passenger side has two connectors). No need to label them as they are each different. |
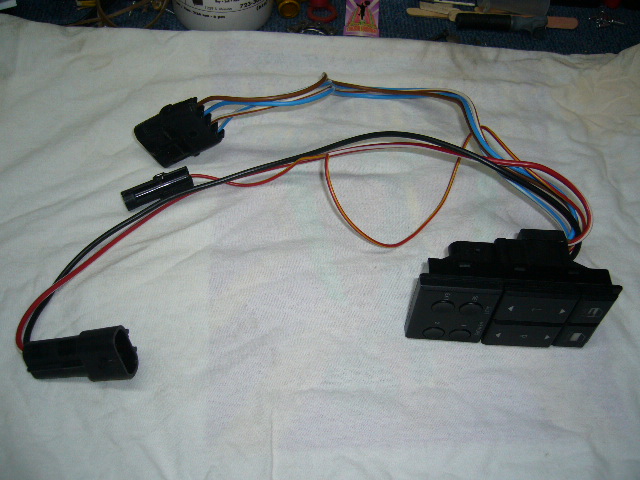 |
10) Remove switch from door panel and take to work bench where you should have a white towel to place it on. |
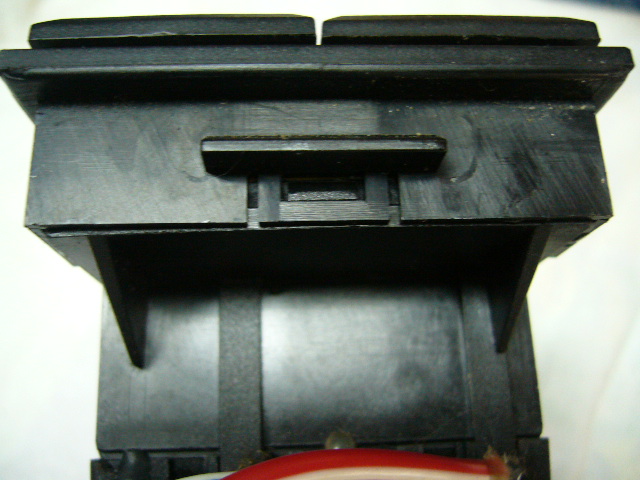 |
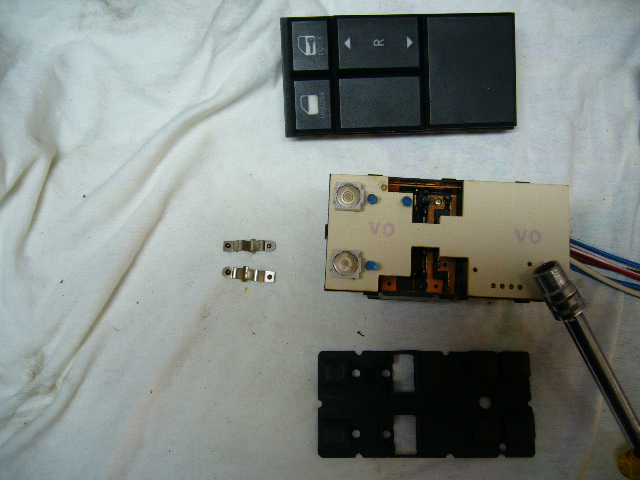
11) Assuming all the tab snaps are not broken on the switch assembly pry up the good ones carefully and separate the top button panel from the switch box while carefully keeping the entire assembly horizontal if possible. (Picture shows an unbroken snap. |
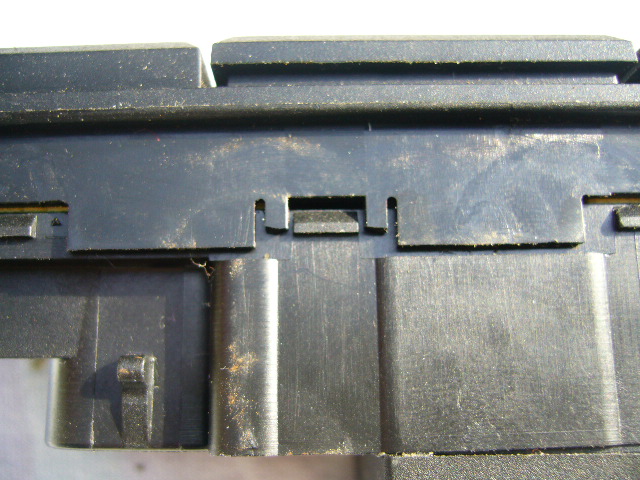 |
12) Broken tabs. |
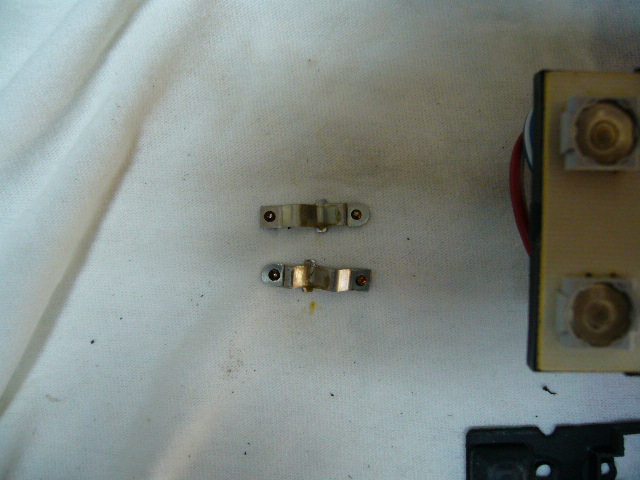 |
13) There are small metal contact strips with multiple bends and a contact at each end that are loosely laying in the bottom of the switch box (See next picture). These WILL inevitably fall out of position while trying to separate the button panel from the switch box. Don't worry if you suddenly hear them rattling around. You'll be able to relocate them before you put everything back together but it'll be easier if they don't fall out of place while removing the button panel. |
 |
14) They can be seen in position here. They are direction dependent so make sure their contacts are touching their respective contacts in the base of the switch box. |
 |
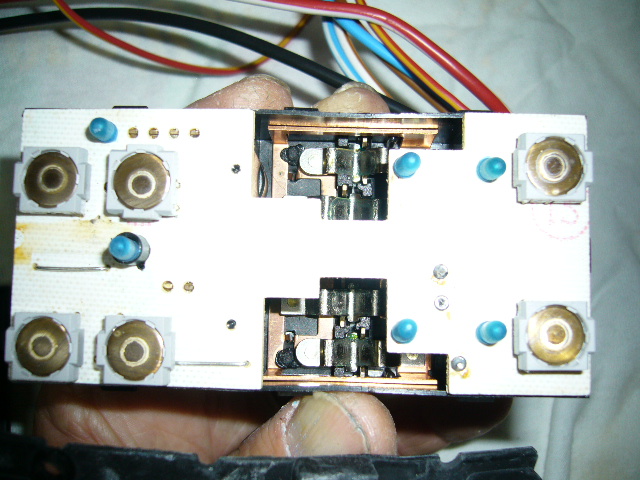
15) Passenger switch completely disassembled. From top to bottom; Switch button panel, bent metal contact strips + switch box, flexible rubber moisture prevention membrane. |
 |
15) The common problem with these switches is, some or all of the side tabs break. They secure the button panel to the switch box. That causes the switch assembly to separate which in turn causes some of the switch buttons to no longer make contact inside the switch box. All that is needed to be done is to reseat the tiny metal contact strips (four in driver's switch, two in passenger switch) then epoxy the top button panel to the switch box. |
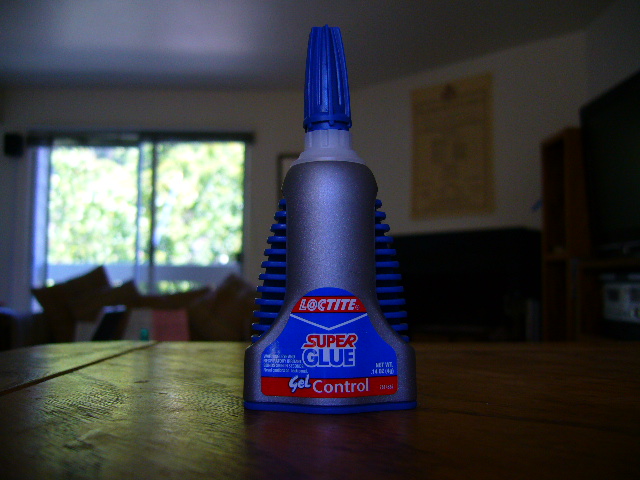 |
16) Sparingly apply to switch box then replace button panel and use some clamps until glue dries. I used this Locktite product. They have a fast dry and slow dry product. |
 |
|
 |
Done! |